
Table of Contents
This guide will walk you through the simple process of creating a new Subnet24 account to access subnet scanning capabilities.
Creating Your Account #
Step 1: Access the Sign-Up Page #
- Open your web browser and navigate to https://app.subnet24.com
- On the login screen, click the "Sign Up" tab
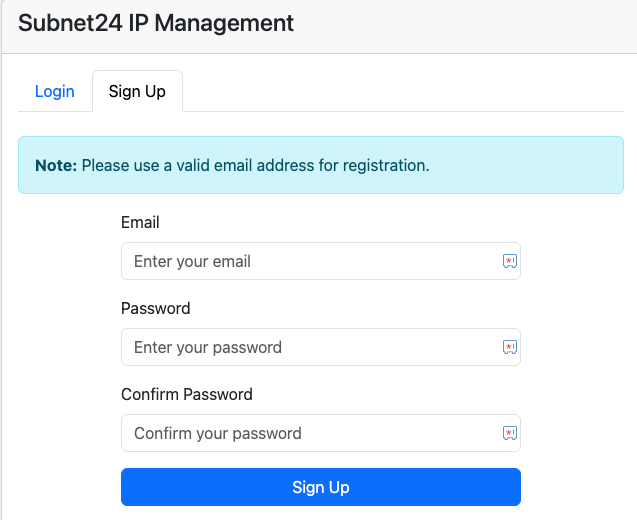
Step 2: Enter Your Information #
Complete the sign-up form with the following information:
- Email Address: Enter a valid email address that you have access to
- Password: Create a secure password for your account
- Confirm Password: Re-enter your password to confirm
Step 3: Complete Registration #
Click the "Sign Up" button to submit your information and create your account.
Free Plan Access #
After signing up, you'll automatically be enrolled in the Free Plan, which includes:
- Basic subnet scanning capabilities
- Access to the Subnet24 dashboard
- 2 /24 or greater Subnets
Upgrading Your Plan #
You can upgrade your account at any time to access premium features:
- Log in to your account at https://app.subnet24.com
- Navigate to the "Settings" section
- Select "Account Info" then "Upgrade Account"
- Choose your preferred plan and follow the payment instructions
Next Steps #
Once your account is created, you're ready to:
- Set up your first groups
- Set up your first subnet
- Begin tracking your IP Addresses
For assistance with account creation or subscription questions, please contact support@subnet24.com


